Showing posts with label fairies. Show all posts

Thursday, June 25, 2015

Playing in the Fairy Garden

My goodness how time flies,  here it is nearly the end of June and the Fairy Garden is finally about ready for the Summer.  The twin fairies are happily seated beneath the China Doll tree an a pretty pink bench.  The fairies take turns sitting on this bench.  It seems to be their favorite spot in the garden (I think they feel secluded and safe there).  There is another bench in the fairy park but the fairy babies have claimed it as their own,  they like to watch the cerulean blue water as it bubbles down the creek and the babies just adore the frog pond in the park too!  The China Doll plant (that looks like a tree) was dug up late last fall and brought in for the winter.  It did very well in the Eastern facing  window in the dining room .  At the end of February I pruned all of the new growth back and took cuttings for a half a dozen new trees.  At the first of April  I started lightly fertilizing to encourage new bushy growth.  I pinched off the tiny new branches that started to grow around the base of the plant.

Fairy Garden 2015, China Doll Tree

When I designing the Fairy garden last summer I played with the placement of the castle and the plants until I was happy with the layout.
The fences and the rest of the plants were added after the major components were in place. Last but not least I added the fairies.  I spent days playing with them until I was happy with the overall effect.
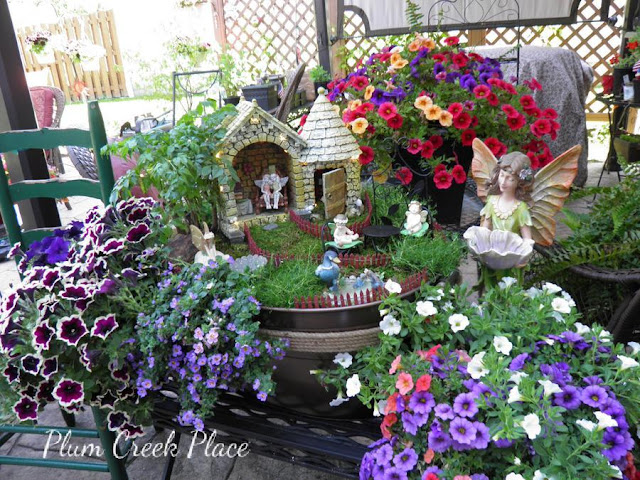
Fairy Garden 2014
2014 Fairy Garden
Several baskets of flowers were placed on the table that the fairy garden was on and onto the table behind the fairy garden. This year I created several new fairy garden settings from old planters from last Summer (I reused the soil too). You probably have a bunch of old planters laying around too.
                                                                    From this,
Ready to up-cycle to a new fairy garden planter box.

To this.
Fairy Garden 2015 made from thrift store finds.

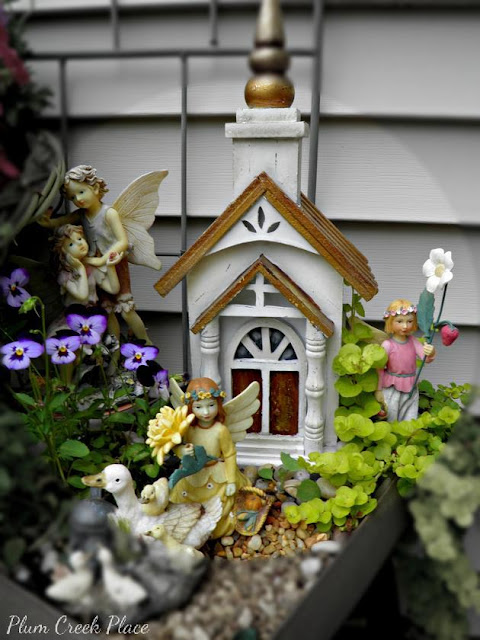
An old bird house,  a fairy,  some creeping Jenny,  mini herb pants, one pop-up viola, and a mini bird bath.  Plus a welcome gnome in the back.
Fairy Garden 2015 made from thrift store finds.


The best part of this post was getting to play with the fairies so I could take "just the right" pictures.


Fairy Garden 2015 made from thrift store finds.


Isn't this little thrift store fairy just the cutest little thing?


This fairy garden planter is to the left of the main Fairy Garden.
Fairy Garden 2015 made from thrift store finds.
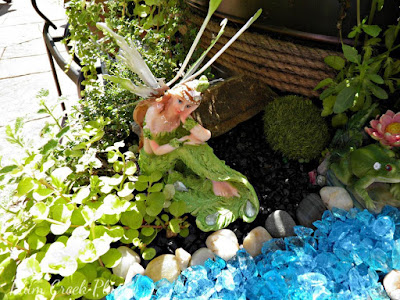
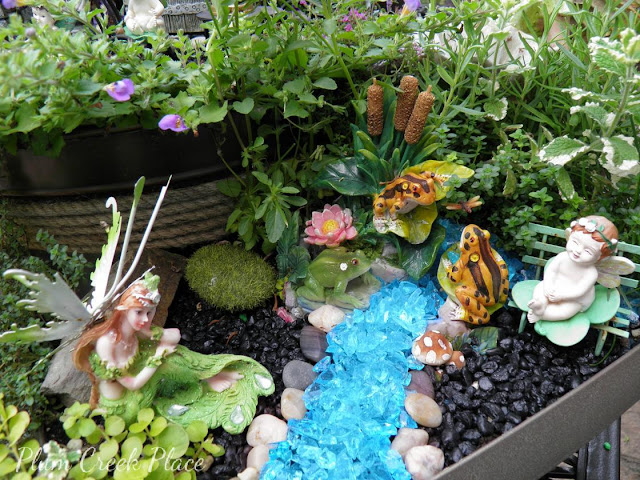
The second planter was used to create a park setting complete with a frog pond and a creek for the fairies. As I mentioned before, the baby fairies took over the park bench.
Fairy Garden 2015 made from thrift store finds.


The Frog Pond.

Fairy Garden 2015 made from thrift store finds.


The green fairy looks bored with babysitting the infant fairy.


Fairy Garden 2015 made from thrift store finds.

Fairy Garden 2015 made from thrift store finds.
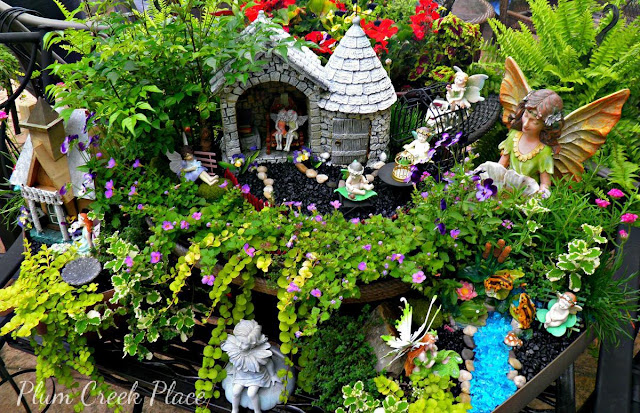
The main Fairy Garden planter has black fish tank gravel added this year,  but other than that,  it is pretty much the same.  The babies have a parrot in their bird cage this year.  See the mini thyme plants peaking out from under and behind the table.... they have the cutest little pink flowers.
Fairy Garden 2015 made from thrift store finds.
Yes,  the fairies have traded places again. The blue winter fairy is enjoying popping her toes up in the sunshine.  Not to long ago she was out getting frostbite on those little toes.
Fairy Garden 2015 made from thrift store finds.
Brrr.... it was a very long cold winter.  It has only been a few weeks since our last frost here in the North Coast of Ohio.
Just the fences, the castle, and a couple of faux pine trees were left outside to winter over.
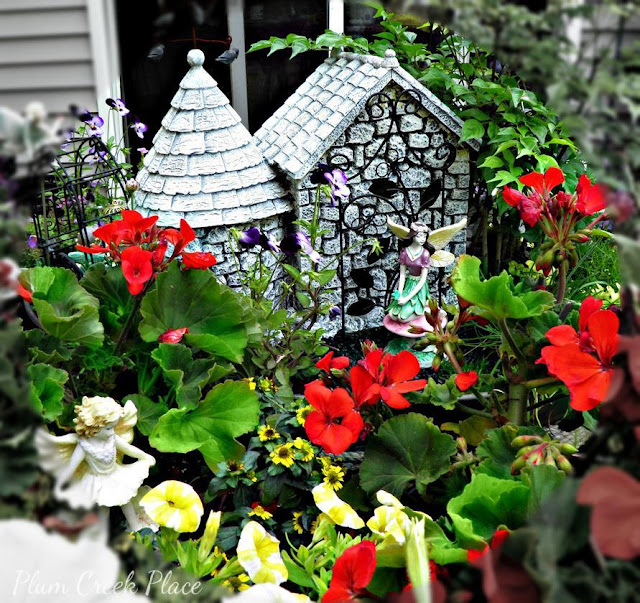
The back of the Fairy Garden.
Fairy Garden 2015 made from thrift store finds.


The purple fairy looks elegant in her garden setting.
Fairy Garden 2015 made from thrift store finds.

A pretty little pale yellow fairy dances in a flower basket behind the castle.
Fairy Garden 2015 made from thrift store finds.

The two little garden fairies in the basket below have been out picking flowers for their dinner table tonight.
Fairy Garden 2015 made from thrift store finds.

There are two other Fairy planters that are sitting on another iron table next to the patio door.  Both were created from thrift store buys.
Fairy Garden 2015 made from thrift store finds.

Fairy Garden 2015 made from thrift store finds.

and
Fairy Garden 2015 made from thrift store finds.
I am working on two more Fairy Garden Planters,  with a little luck it may stop raining within the next day or two so I can get back to working on my fairy garden.

The Korean Lilac bush in the front yard bloomed profusely this year.  Last year and the year before that late frosts blackened most of the buds.  This year we were home to cover them for the last frost,  a couple of days later it was in full bloom.

*********


I hope to be posting my first Summer tablescape for this year within the next week or so.  Until then,  remember to thrift on ladies, thrift on. 

I will be sharing at:

Sunday, June 15, 2014

Plum Creek's Fairy Garden

I know you know all about Pinterest.  But do you know all about how addictive it is?  Do you know you cannot look at pictures of a fairy garden without wanting to make a fairy garden?  I have nearly 450 pins on my Fairy Garden Board, you can find it here  http://www.pinterest.com/candystefan52/fairy-houses-and-gardens/.  After you look at a few of these lovely little gardens you will know what the attraction is.  After nearly a year of drooling over someone else's fairy garden, I have finally made my own.  Last year I wanted to make a Secret Garden out of a book.  When my son Chris and his wife found out about my new interest they sent me a set of fairy garden wrought iron trellises, furniture, and gates for my birthday. At Mother's Day they sent my fairies (yea!).  Over the year I found a few things here and there that I incorporated into the fairy garden.
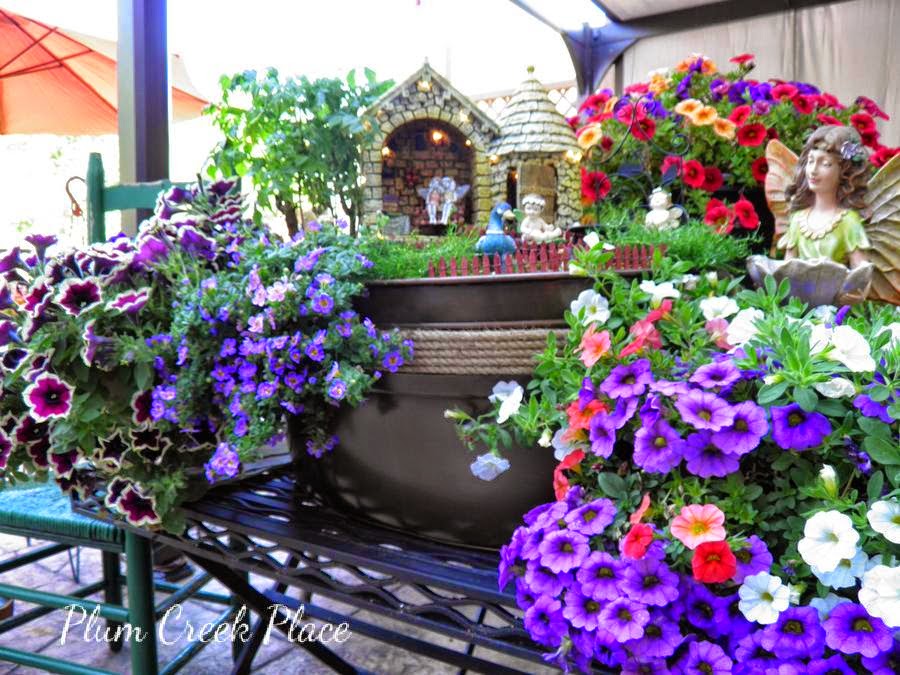
Plum Creek Place Fairy Garden
I started with a container that I found at Marshall's.  I used my two ten dollar off coupons. After tax I paid less than two dollars for the tub.
Plum Creek Place Fairy Garden tutorial


Plum Creek Place Fairy Garden tutorial


Plum Creek Place Fairy Garden tutorial
 I filled the bottom third of the tub with shipping popcorn and  filled the rest of the tub with moistened potting mix.  I set my "fairy house" and some plants I had been collecting into the tub and played with them repositioning them until I was happy with the configuration. I designed the garden to have an attractive front view and an attractive back view independent of each other.
Plum Creek Place Fairy Garden tutorial
 The fairy house was a wizard house complete with gargoyles that I found at Goodwill. I chiseled that wizard and gargoyles out of the house voila! a fairy house for four dollars (less my discount of course). The little tree is called China Doll, I found it at Marc's.  The moss is Scotch Irish moss form Home Depot. I do not know the name of the flowers hanging over the side of a tub.  I took them out of a hanging basket that I had bought at Marc's for this purpose.
Plum Creek Place Fairy Garden tutorial
Then I added fences and trellises (and fairies too) and moved them around until I was happy.
Plum Creek Place Fairy Garden tutorial
The fences came from my collection of Christmas Village fencing.  I did end up using a smaller brown fence.  I will probably still change  the fence again.
Plum Creek Place Fairy Garden tutorial

Plum Creek Place Fairy Garden tutorial

Plum Creek Place Fairy Garden tutorial

I ended up repositioning the house to leave a little more room in the back for the garden arch and another fairy.
Plum Creek Place Fairy Garden tutorial
I placed the battery pack to the lights in the bottom of the turret and hot glued the lights under the eaves and inside of the rooms, Laid dried moss in to the areas of exposed soil (to keep weeds from popping up I hope).  Now please understand that this is my first attempt at making a fairy garden and I will be tweaking it for weeks, but for right now I am pretty happy with it.  It needs a little more of a polished look (but not to much) and a little bit of a better definition of the spaces.


Plum Creek Place Fairy Garden tutorial

Plum Creek Place Fairy Garden tutorial
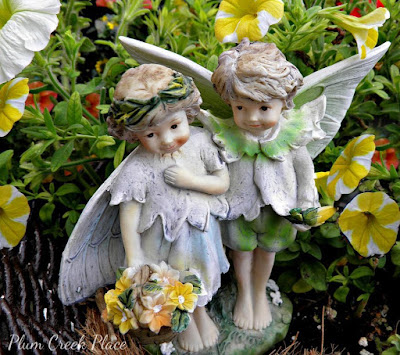
 The twin fairies were my Mothers Day gift - Thank you Chris and Genia.
Plum Creek Place Fairy Garden tutorial
 I found the fairy below at Goodwill.
Plum Creek Place Fairy Garden tutorial
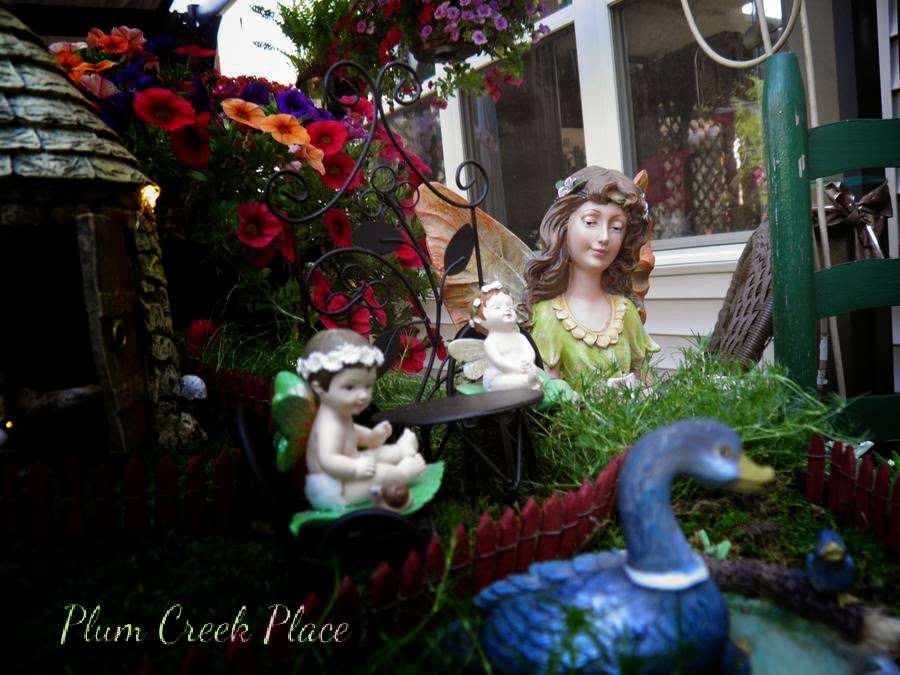
 The fairy babies are from Goodwill too.  The larger garden fairies are from Marc's.
Plum Creek Place Fairy Garden tutorial

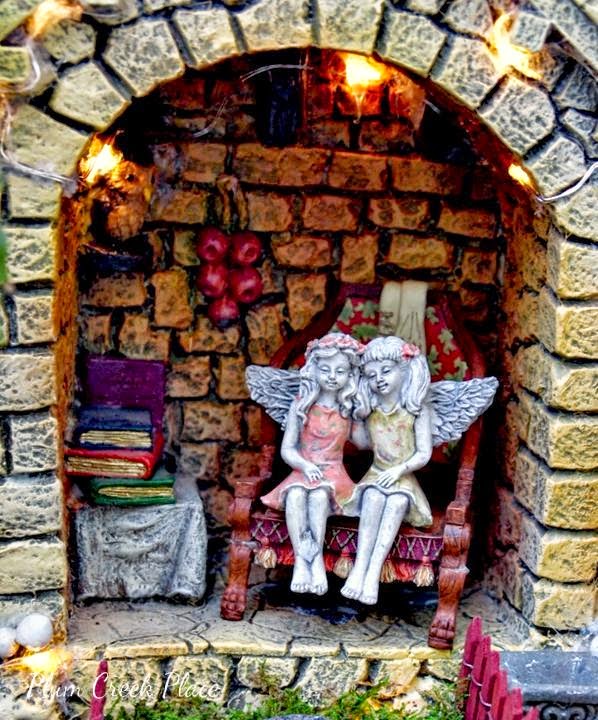
 This little chair came from the Goodwill store near where I work.  It fits the twin fairies perfectly.
Plum Creek Place Fairy Garden tutorial

Plum Creek Place Fairy Garden tutorial

Plum Creek Place Fairy Garden tutorial


Plum Creek Place Fairy Garden tutorial

Plum Creek Place Fairy Garden tutorial
 This fairy light was a Mother's Day gift from Chris and Gen too.
Plum Creek Place Fairy Garden tutorial


Plum Creek Place Fairy Garden tutorial
 Plum Creek Place Fairy Garden tutorial
It was a very long hard day.  I worked in the yard to finish planting and mulching so I could get to making my Fairy Garden.  I am glad I did.


Thrift on ladies, thrift on

Linking to:

Christine's Table it Party.

Susan's Metamorphosis Monday

Arod's and Sue's Meet the Neighbor Party

Dawn's History and Home Link Party  
 Button


Last week's post "Red, White, and Mostly Blue" was featured at:

Meet the Neighbors at Housekaboodle  http://www.housekaboodle.com/wp-content/uploads/2012/06/housekaboodle-125-button-1.png

and

Anything Blue Friday at The Dedicated House   https://plus.google.com/_/focus/photos/public/AIbEiAIAAABDCPOuyML9s4LUbSILdmNhcmRfcGhvdG8qKGFlNTNlZWJiNmZiMDZlMWUwODBiMjc5MWIwYzI2Y2Q3NDIzOWE5ZWQwAU4s9g3nBS68DNExkLu8GgYOqSZ1?sz=64